Line Detection
First of all, let’s detect some lines, which is done with the HoughLines and HoughLinesP functions. The only difference between the two functions is that one uses the standard Hough transform, and the second uses the probabilistic Hough transform (hence P in the name).
The probabilistic version is so-called because it only analyzes a subset of points and estimates the probability of these points all belonging to the same line. This implementation is an optimized version of the standard Hough transform, and in this case, it’s less computationally intensive and executes faster.
Let’s take a look at a very simple example:
# Import Necessary library
import cv2
# Read Input image
img = cv2.imread('chess.jpg')
# convert to grayscale
gray = cv2.cvtColor( img, cv2.COLOR_BGR2GRAY)
# Edge Detection using canny
edges = cv2.Canny( gray, 50, 120)
# Define threshold Line Length and Line gap
minLineLength = 20
maxLineGap = 5
# Obtain Hough Lines
lines = cv2.HoughLinesP( edges, 1, np.pi/180, 100, minLineLength, maxLineGap)
# Loop though the lines and draw them
for i in range(len(lines)):
for x1,y1,x2,y2 in lines[i]:
cv2.line( img, (x1,y1), (x2,y2), (0,255,0),2)
# Display Output Image
cv2.imwrite("Houghedges.jpg", edges)
cv2.imwrite("Houghlines.jpg", img)
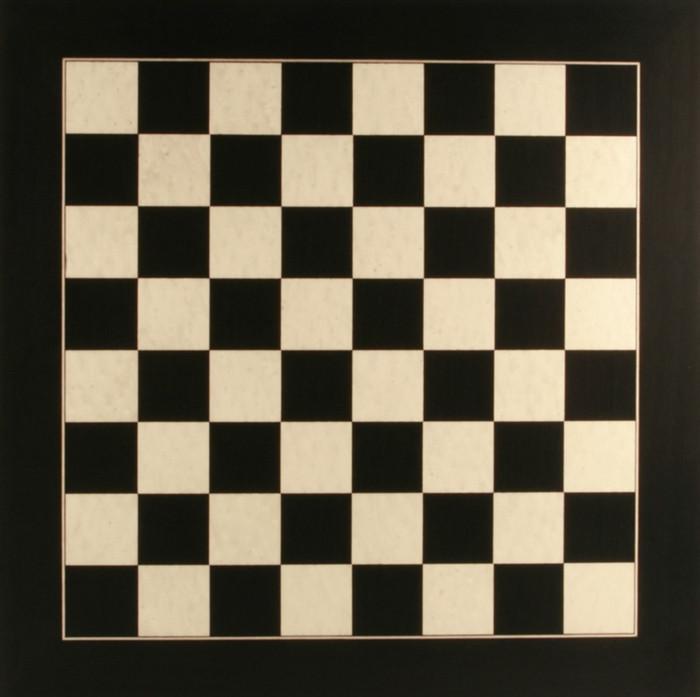
Input Image is:
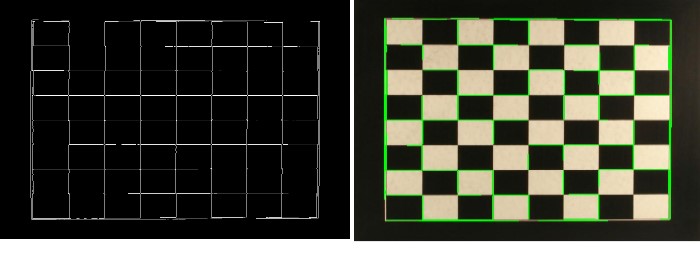
Output Image for Edges and Lines will be:
Circle Detection
OpenCV also has a function for detecting circles, called HoughCircles. It works in a very similar fashion to HoughLines, but where minLineLength and maxLineGap were the parameters to discard or retain lines, HoughCircles has a minimum distance between circles’ centers, minimum, and maximum radius of the circles.
Here’s the obligatory example:
# Import Necessary library
import cv2
import numpy as np
# Read Input image
planets = cv2.imread('planet.jpg')
# Convert to grayscale
gray_img = cv2.cvtColor(planets, cv2.COLOR_BGR2GRAY)
# Apply median Blur to remove noise
img = cv2.medianBlur( gray_img, 5)
# Convert to grayscale to blurred image
cimg = cv2.cvtColor(img, cv2.COLOR_GRAY2BGR)
# Obtain Hough Circles
circles = cv2.HoughCircles( img, cv2.HOUGH_GRADIENT, 1 ,120, param1=100, param2=30, minRadius=0, maxRadius=0)
# Convert circles to unit16
circles = np.uint16( np.around(circles))
# Loop though the Circles and draw them
for i in circles[0,:]:
# Draw the outer circle
cv2.circle(planets,(i[0],i[1]),i[2],(0,255,0),10)
# Draw the center of the circle
cv2.circle(planets,(i[0],i[1]),2,(0,0,255),10)
# Save Output Image
cv2.imwrite("HoughCirlces.jpg", planets)
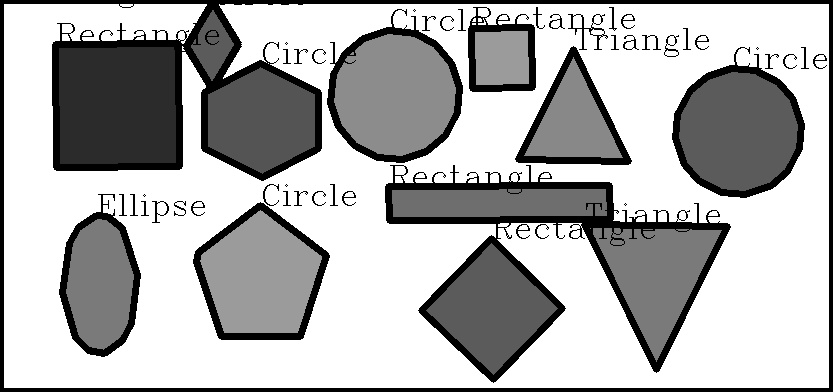
Input Image is:
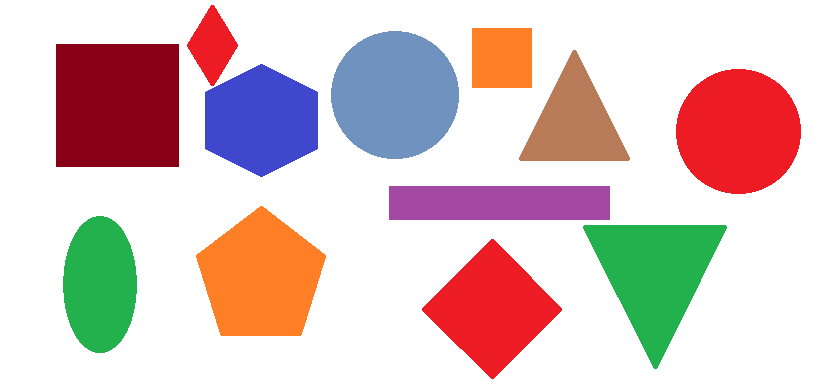
Output Image for Hough Cirlces will be: